
Image creation with artificial intelligence; It is also known as the process of producing a new image based on text, sound, music, emoji or another image. This process is carried out by artificial intelligence algorithms. These algorithms analyze the given input, extract meaning and create an appropriate output. This came out; It can be entertaining, emotional, educational or artistic. So, on which sites can you perform the artificial intelligence image creation process?
Although many artificial intelligence image creation sites are priced, there are also some that provide you with free but limited services. You can handle your one-time work on these sites and quickly meet your need for artificial intelligence image editing. According to your wishes; social media, advertising, presentation, cinema, etc. Sites that create or edit images in areas can now offer more affordable and realistic images with the development of technology. Let’s take a look at which sites there are.
Artificial intelligence image creation and editing sites:
- Descript
- Wondershare Filmora
- Runway ML
- Peech
- Synthesia
- fliki
If you want to save time and be easy to use: Descript
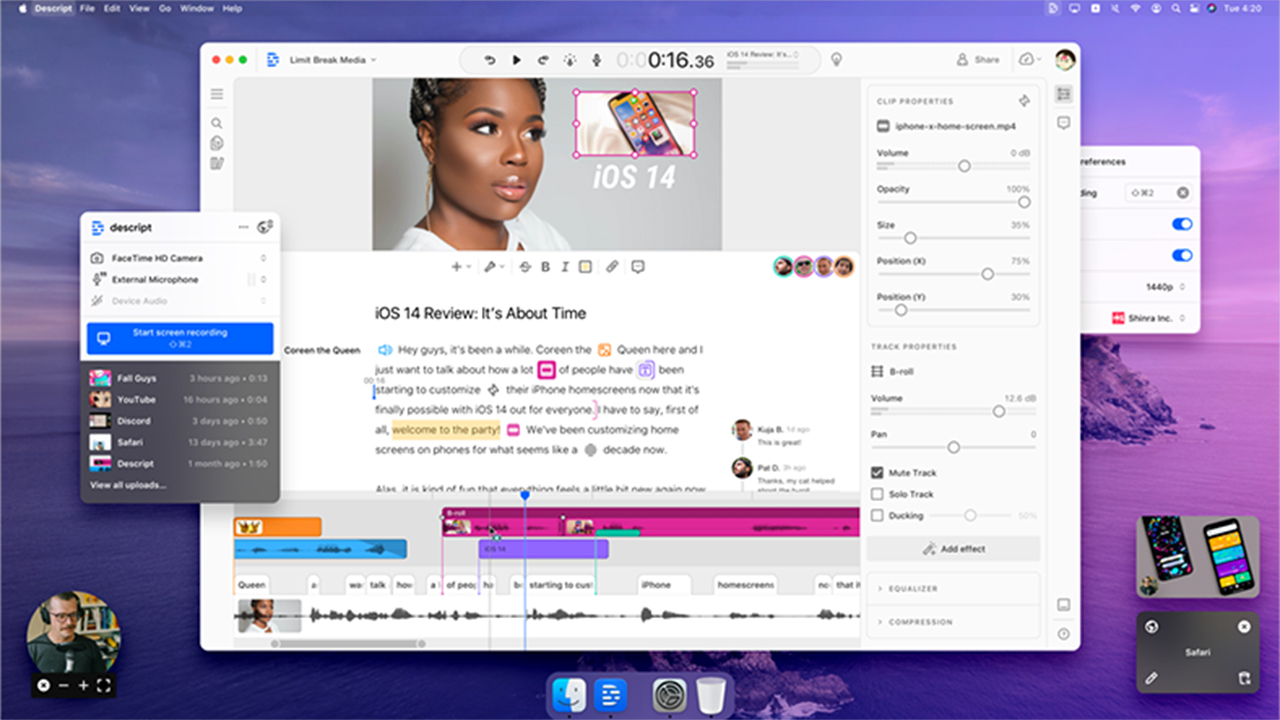
Descript, one of the artificial intelligence image creation tools, is an extraordinary tool that allows you to edit your images as text documents. Especially in these times when it is not known exactly how artificial intelligence image creation tools are used, the site enables your artificial intelligence image editing tasks with its easy commands.
How to use Descript?
Descript automatically transcribes your footage and separates it into scenes. This way, you don’t have to deal with the timeline to cut or crop your image. Just select the parts of the transcript you want to delete and we’re sure Descript will do the rest for you. You can also edit your video as a text document.
Then you can divide your video into scenes for further control. To do this, it is sufficient to place a slash (/) sign in the middle of each scene in the transcript. Descript will split the image into sections in the timeline on the left. In this way, you can add B-roll, that is, background images, to your video.
To do this, click on the scene and go to the ”media library”. Here you can find high quality stock images and drag and drop them into your project.
When you press play, you can see that Descript cuts the B-roll exactly where you specified. Likewise, you can add visual elements and sound effects to your video. All you have to do is mark it on the transcript.
Price: With the free plan, you can create 1 hour of transcription and 1 image without watermark at 720p resolution. The Creator plan, on the other hand, offers 10 hours of transcription and unlimited watermark-free AI image creation at up to 4K resolution for $12 per month.
There’s nothing you can’t do: Wondershare Filmora

Wondershare Filmora automatically separates your footage into scenes and converts it into a transcript. Thanks to this feature, you do not have to deal with the timeline to cut or crop your image. All you have to do is select the parts of the transcript you want to edit.
When you press play, you can see how Wondershare Filmora enhances your image. You can also add creativity and productivity features to your image.
Among these; There are features such as a template library that quickly creates your video and automatic rhythm synchronization that synchronizes your cuts with music. We have no doubt that these features will save you time.
With export and publishing options; You can save your video in the format, resolution, quality and frame rate you want. Also, if you want to share your video faster; You can connect your YouTube, TikTok or Vimeo account to Wondershare Filmora.
When you turn on automatic highlighting in the export window, the tool will also create a 15-second image highlight for TikTok or 60 seconds for YouTube reel/shorts videos in addition to your main document. We have explained it at length, now let’s see how you can do these.
How to use Wondershare Filmora?
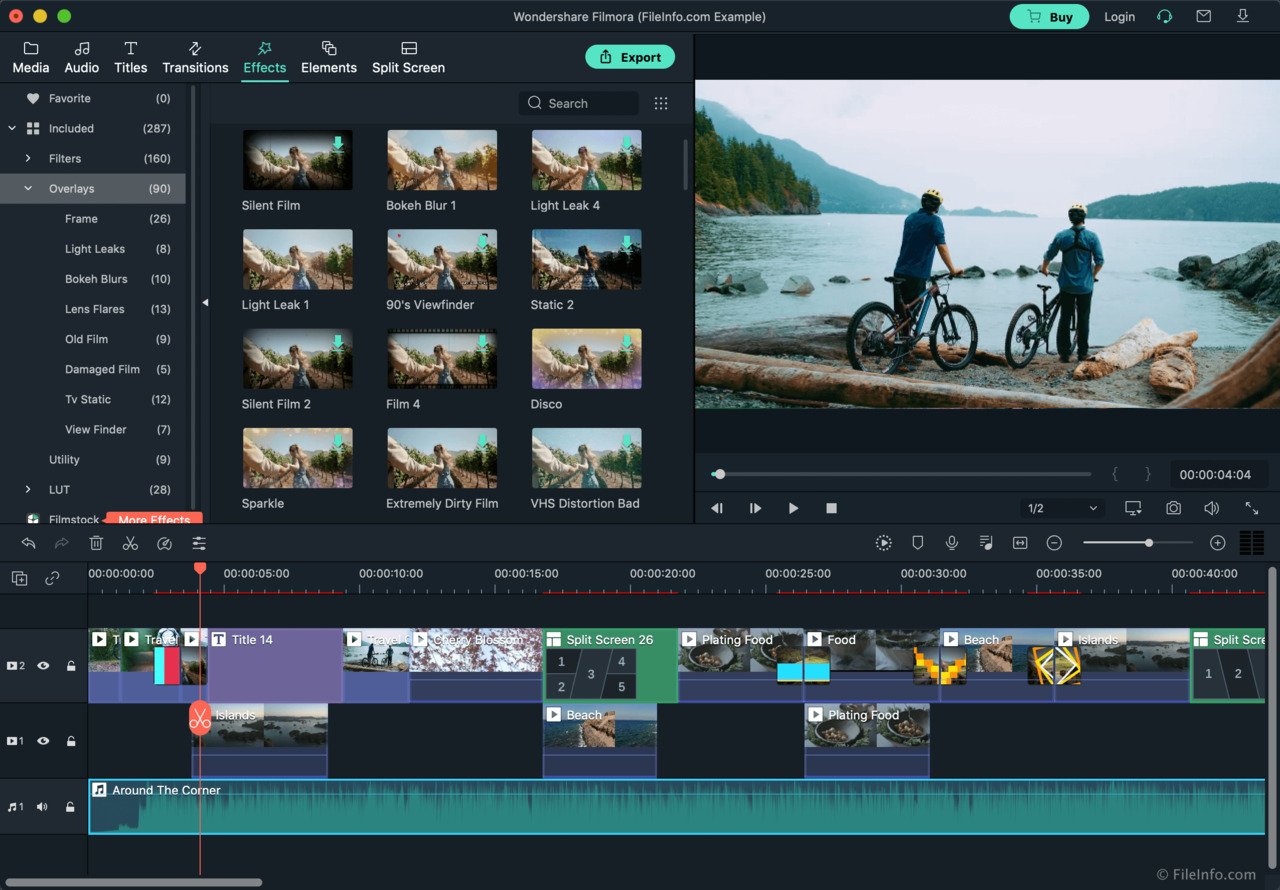
Click “import” to browse your file folder (we marked it with a yellow rectangle in the image) and then select the images you need. This image in video software provides a user album to help you manage all added images.
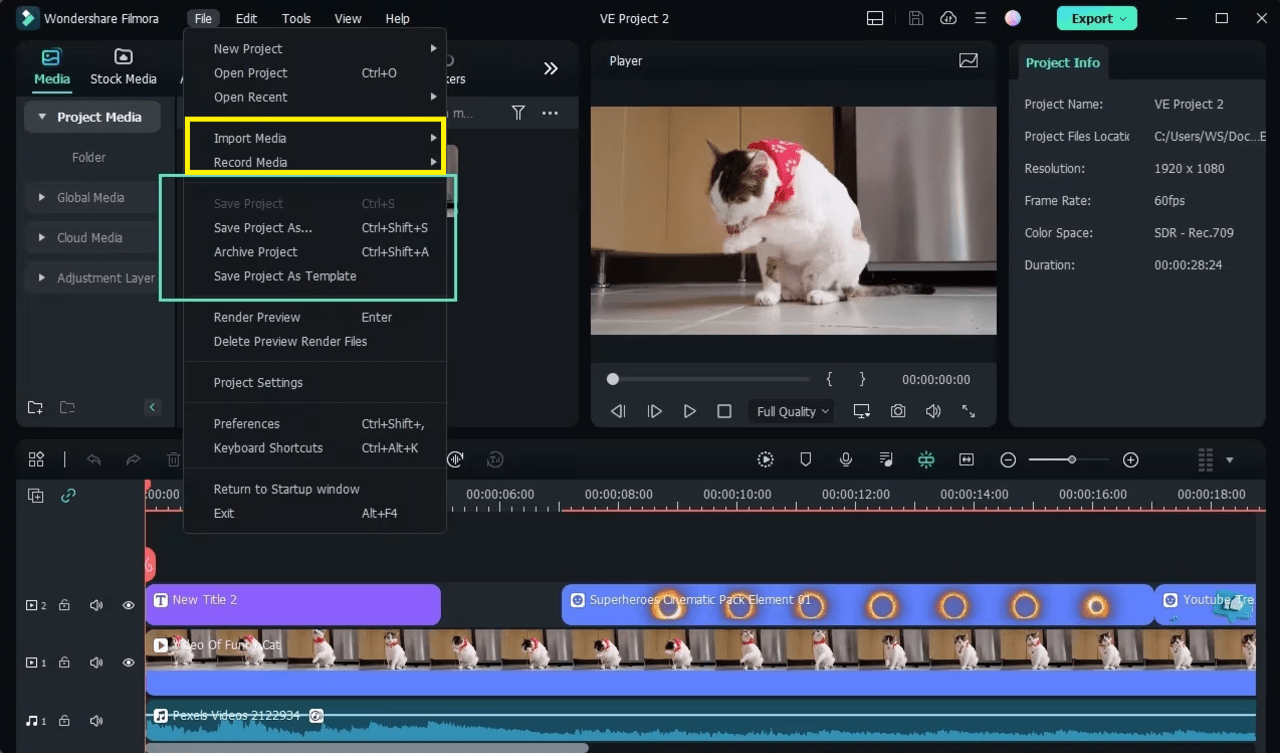
The process of adding video to another image: Drag and drop a source/background image onto the first image segment. Then drag another image you want to add onto the background image section. You can then adjust the duration of the placed image using the speed and duration settings.
You can drag the handle on the preview window to change the position of the PIP video, or double-click it to enter the editing interface. After clicking, drag the sliders to change its size, position or side.
Note: You can adjust its brightness, display speed, pitch, volume, etc. If you want to change it, you can double-click the clip in the timeline and then switch to the sound or color tab to enhance the image and sound with the useful tools in the editing panel.
The process of combining several images into one: Drag your videos one by one from the media library into several image segments (up to 100 image segments are supported), then arrange their location and size as shown in the frame. You can click the “play” button to preview.

Note that all audio will appear in video theater by default in this image. But first you can silence or remove them (we marked them with a yellow square in the image) and then add background music.
Advanced editing: You can make your image more polished by using the effects provided in the video editing software. Double-click the image in the timeline and then select the effect from the editing panel.
Then, in the window that appears, you can apply gestures, adjust the color and sound. To obtain the best result; You can customize the mask’s form, position, and adjust the display effect.
The process of recording your video: For this step, simply click on the “export” option. For example, if you want to publish your video online, you can click the “YouTube” tab.
We are sure that it will be a great solution for those looking for a more professional tool: Runway ML
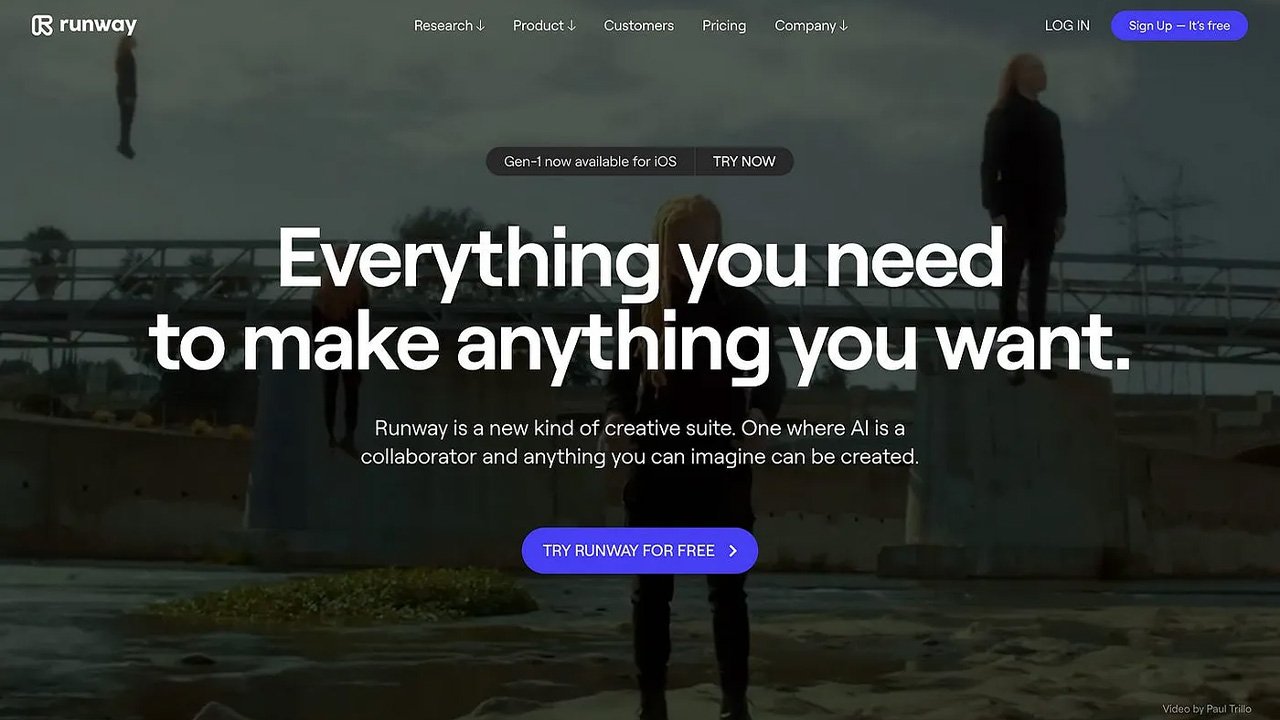
First of all, let us point out that this artificial intelligence tool does not only handle your image creation work, because the number of processes you can do in this tool is quite high. For example; It offers many possibilities, from image to text, text to landscape, artificial intelligence image creation option and converting an image clip into a cinema scene.
How to use Runway ML?
To access options such as artificial intelligence image creation and artificial intelligence image editing, simply click on the “videos” option on the left side of the panel. The next steps work just like the tools we explained above.
For example, if you wanted to produce an image from a text-based command, it would be sufficient to type what you want in the command bar. However, we need to remind you again that the simpler and more detailed you write, the more successful results you will achieve. Remember to avoid using complex sentences.
Runway ML, which uses 2nd generation technology for artificial intelligence images, also allows you to make fine adjustments to your images. Unlike many artificial intelligence image creation sites, the site is easier to use and its price is cheaper compared to others.
Price: The site offers you 3 images for free and gives you the option to export 720p. We are sure that this artificial intelligence tool, which costs 12 dollars for a monthly plan and 24 dollars for an annual plan, will serve you well.
Offering the perfect solution for your artificial intelligence image editing works for your brand: Peech
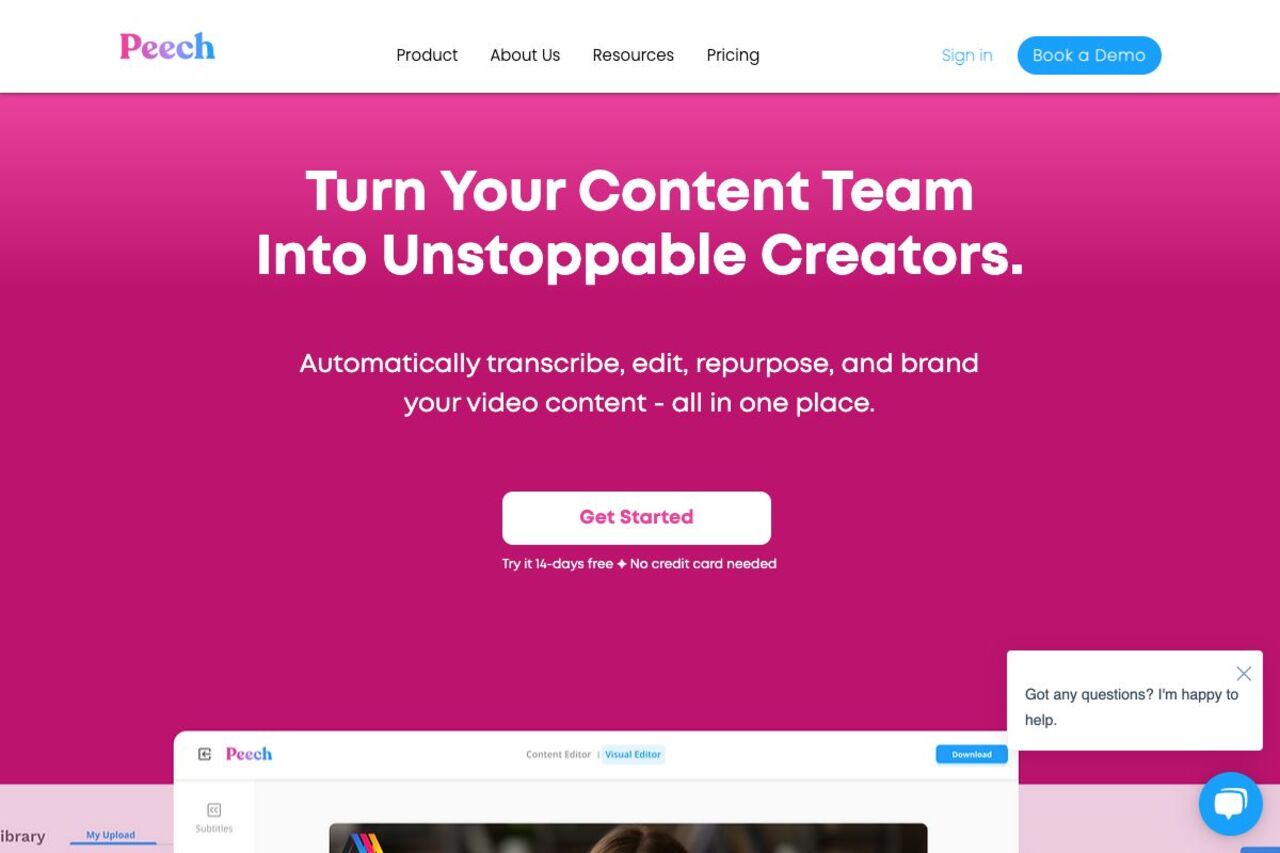
Getting started with the basic work, Peech Lite, requires you to add your brand kit. Once you enter your logo and color system, Peech uses these assets to automatically brand all your images.
When you start adding your media, it will detect faces and ask you to enter their name and role in your company. In this way, every time the person appears in a future image, the artificial intelligence tool will display their name and role card on the display screen.
How to use Peech?
- Step #1: First, go to Peech’s official website and sign up. Then click on “Create Project”.
- Step #2: For each video content uploaded, Peech will automatically analyze and split the content into dozens of betting-based branded images ready to publish.
- Step #3: Explore the wide variety of branded images created to choose the content that best suits your needs, review it, and make any necessary changes to prepare it for publication.
- Step #4: Don’t forget to inspect every aspect of your video. You can change the position, size, and text of visual elements by simply arranging the content within a document.
Price: With the free plan you are available for 1 user, 2 images per month, 5 minute upload limit and watermark. The Pro plan starts at $59 per month and allows 10 images per month, 50 minutes of upload time, and no watermark.
“Doesn’t it have Turkish language support, dear editor?” We almost hear you say: Synthesia
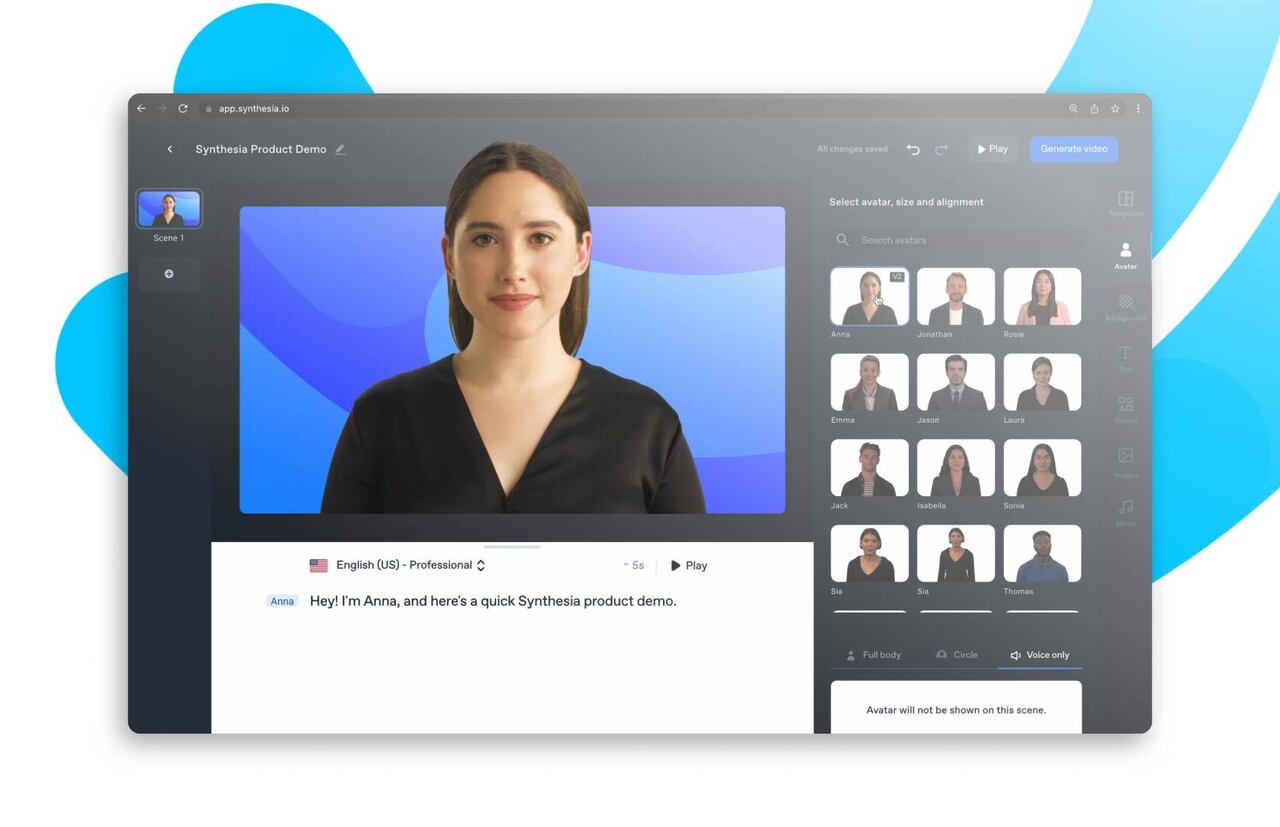
Is there anyone who hasn’t heard of this site? Through artificial intelligence, you can create images for your content, presentations or projects without using your face and voice. The site, which has multi-language support, is one of the most well-known artificial intelligence image creation and video editing tools.
How to use Synthesia?
A good video scenario forms an important basis for both artificial intelligence videos and classic images. So before you dive into Synthesia, take the time to plan what you want your image to say and show. This step is important because; In this step, you create your target audience, your purpose, the type of video you want to make and the images you want to add.
To create a video, click on the “new video” option in the upper right corner, then you can start creating by choosing one of more than 55 image templates. You can also create it with a previously designed image template from the “templates” option on the left.
If you say you want to do artificial intelligence image editing, not image creation; You can edit your PowerPoint presentation by uploading it to the site from the “import” option.
As we mentioned above, you do not need to use your voice/face for video editing or creation processes on this site. Because the site also offers you different avatar and voice models. The rest is up to your creativity. 🙂
Price: You can purchase an individual plan starting from $30 per month.
This artificial intelligence tool has nothing but: Fliki
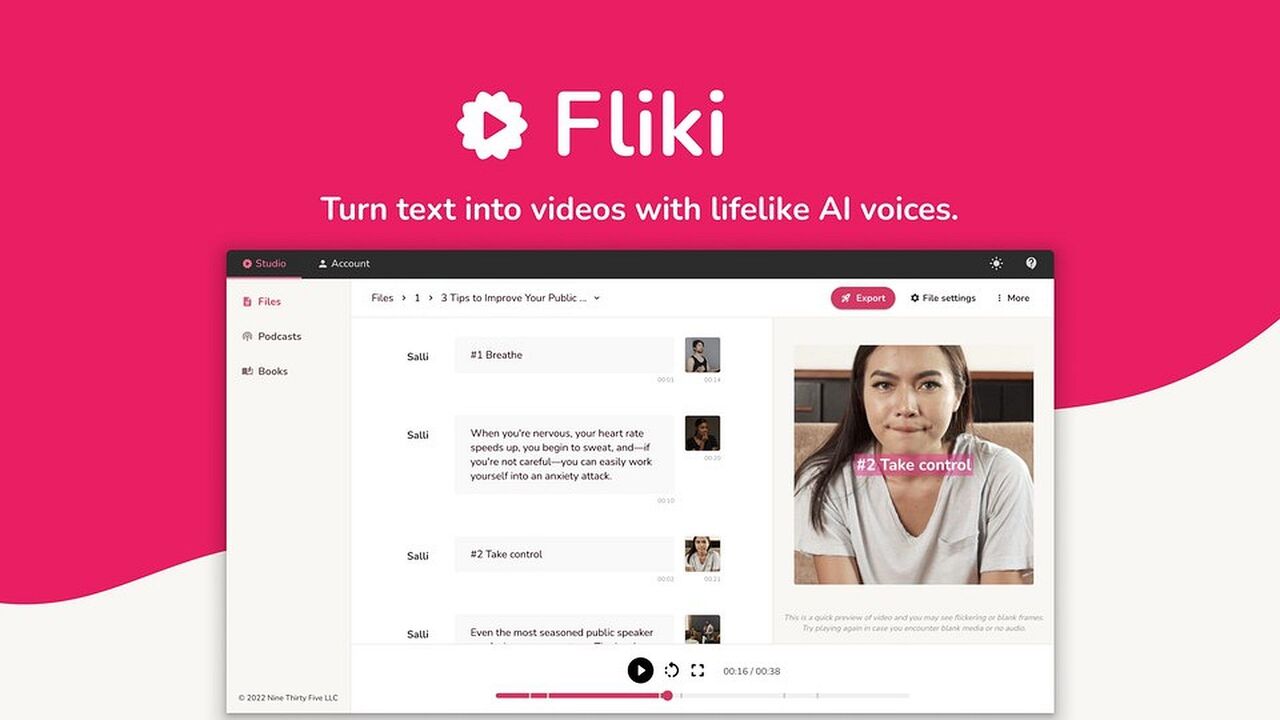
On this artificial intelligence site, where you can create images from your ideas, blog posts, presentations and even posts, you can access millions of stock images for your creative content. The site, which has over 75 language support (including Turkish), is also the indispensable address of many corporate brands (Google, Sony, Meta).
How to use Fliki?
First, you need to go to the official address of the site. After you create your membership, you will probably see a helpful image showing how you can create content. But let’s explain it again: You should click on the “new file” option on the right side of the site.
For example, you clicked on the “idea prompt” option, after this step it would be more beneficial for you to write your command in English because the artificial intelligence has not yet learned Turkish as well as English.
Then a panel called “magic create” will open in front of you. From this panel; You can create an image from an idea, blog, presentation, tweet (post X) or even an artwork. You can also click the option you need from the “Stock image, artificial intelligence media” options below.
Almost every option you click has different options. Now, we cannot get in or out of them, but you can meet your needs as you wish.
As you know, these artificial intelligence image creation programs can produce unethical content in recent times. You should not forget that you are the learning tool of artificial intelligence, and no one wants to encounter undesirable results in the future.
That’s why you can use these tools in a healthy way for training, presentations, projects, etc. Using it in areas will benefit everyone.
What you can do with artificial intelligence is not limited to just images. You can also access our other content here: